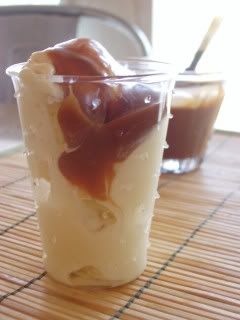
There are few sauces in this world that I love more than butterscotch. It has the gooey richness of caramel, but with a little more moxie. Even the name butterscotch has an allure to it. "butter" and "scotch"- of course it's gonna be good.
But, this innocent little dessert condiment has been irking me since last summer when I had a burnt sugar banana split on my menu.

This was no ordinary banana split. For weeks before the restaurant opened, I had a vision in my head of this glorious dessert, and glorious it was; A banana bruleed with a blow torch, scoops of homemade chocolate, vanilla, and strawberry ice creams-
topped with strawberry sauce, bittersweet fudge sauce, butterscotch, chopped almond praline, sliced strawberries, and a fresh bing cherry. Each order took almost 10 minutes to assemble and to this day, it could very well be one of my finest achievements...with the exception of one thing- I could never get that damn butterscotch right.
I started with a recipe from one of my heroes, Emily Luchetti. Her butterscotch contained all of the usual suspects: brown sugar, butter, cream, salt, etc.
Right off the stove it was quite delicious. After the sauce bottle sat overnight in the fridge however, it was grainy. Still yummy- but the texture simply wouldn't do. Graininess is one of my biggest pet peeves.
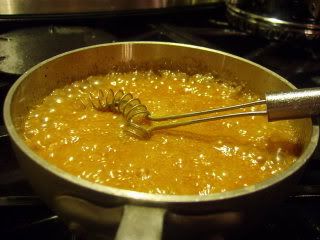
Not ready to give up, I tried a recipe given to me by a fellow pastry chef. As I was cooking it, I realized her recipe was pretty much the same as Luchetti's, and I knew I was probably going to have the same problem. So, I cooked it a bit longer to see if that would help dissolve the brown sugar, then I added a shot of whiskey while it cooled. The extra cooking time did nothing for the grainy issue, but the whiskey worked wonders on it's flavor. I had one of those no-duh moments. Why would I even consider making a butterscotch with out any booze in the first place?
With the restaurant in it's infancy at this time, I obviously had a million other things on my plate. I certainly could not linger here in this quagmire. The flavor was very good, and if it were made daily, in small amounts, I could sideswipe the grainy issue. I vowed that I would pick this butterscotch thing back up when I had time to catch my breath.
Fast forward to December, and I have gingerbread on my menu. A dark and spicy wedge with a dollop of Meyer lemon-mascarpone whip (a pillowy blend of Meyer lemon curd, mascarpone, and heavy cream. I will post about it in the future- it's too good not to share), rose poached quince, and a glaze of the infamous butterscotch. Here was my chance to re-visit the texture.
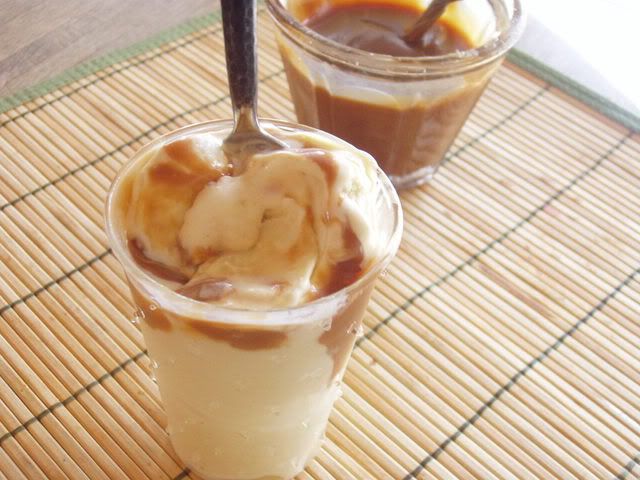
Butterscotch is made in the same procedure as caramel- but you use brown sugar and butter instead of white sugar and water, and you don't caramelize it. Instead, they are melted together, then the cream is added and the sauce boils for a few minutes... It's like "lawyer-ball" caramel.
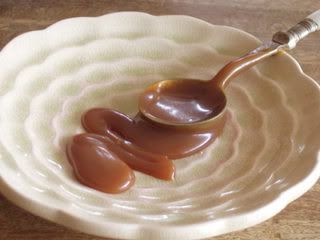
Brown sugar was not only was it the key to butterscotch's flavor, but it was also my roadblock. Brown sugar is basically white sugar with molasses added to it. What if I made a basic creamy caramel sauce, then added molasses, whiskey and salt while it cooled? First time was a charm. I would go so far as to call it perfect. I was pissed off that my brain didn't make that connection back in the banana split days.
The hubby and I have been enjoying homemade cinnamon stick ice cream and butterscotch sundaes for dessert over the holidays. Luckily, we polished off the last of it last night- just in time for my new years resolution to decrease the size of my bum!
Butterscotch
This sauce can be refrigerated in a sealed container for at least 2 weeks. To bring it back to it's original saucy lustre, re heat it slowly over the stove, or in the microwave.
Makes about 1 cup
1/2 cup granulated sugar
1/4 cup water
3/4 cup cream
1 oz unsalted butter, cut into cubes
2 T molasses
1/4 tsp fine sea salt
2 T whiskey (I like Yukon Jack for it's sweetness)
In a small sauce pan, combine sugar and water. Cook over high heat until it' caramelizes. This takes a while longer due to the extra amount of water.
Meanwhile, in a separate sauce pan, combine the butter and cream. Bring to a simmer and let sit until the sugar has caramelized.
Off the heat, slowly and carefully whisk in the hot cream. The pot will spatter and spit- look out!
Whisk over gentle heat until sauce is smooth and lump-free. Strain into a heat proof container, then stir in molasses, whiskey, and salt.

Happy New Year!

